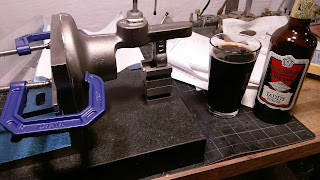
Let's work on the main body of the filer, shall we?
Having a conference with my good friend, Sammy Smith, to discuss clamping. This was a part that I had to think about. How best to hold this casting for machining the first surfaces that would then determine the placement of everything else?
With clamping resolved, it was time to make some chips. Here, I'm cleaning up the surface that the table will mount to. From here, I can set the height of the main bearing bore.
After hitting the table mounting surface, I milled a flat on the center of the body where the bearing bore would be placed. This whole process took a little bit of eyeballing and dead reckoning. The exact placement of features on the casting is not as important as their relative positions. The idea is to get certain features lined up visually to the casting...as long as they can be accurately placed in relationship to each other.
I don't keep many drills larger than 1/2" around, so I had to start there and cut away the rest with the boring bar. The ring around the initial hole you see here was the result of me trying to see if I could plunge a 3/4" end mill to open up the hole. It didn't work...the little mill just doesn't have that kind of rigidity.
After patiently cutting, I got the bore to the desired diameter.
Coffee and spot facing !
That pin marks where the table will mount. Instead of going straight for a threaded hole, I went with a 3/16" hole and set a pin into it. The pin will be used in later operations to find the center again. Once those other features are done, the hole will be re-drilled for a 5/16-18 thread.


No comments:
Post a Comment